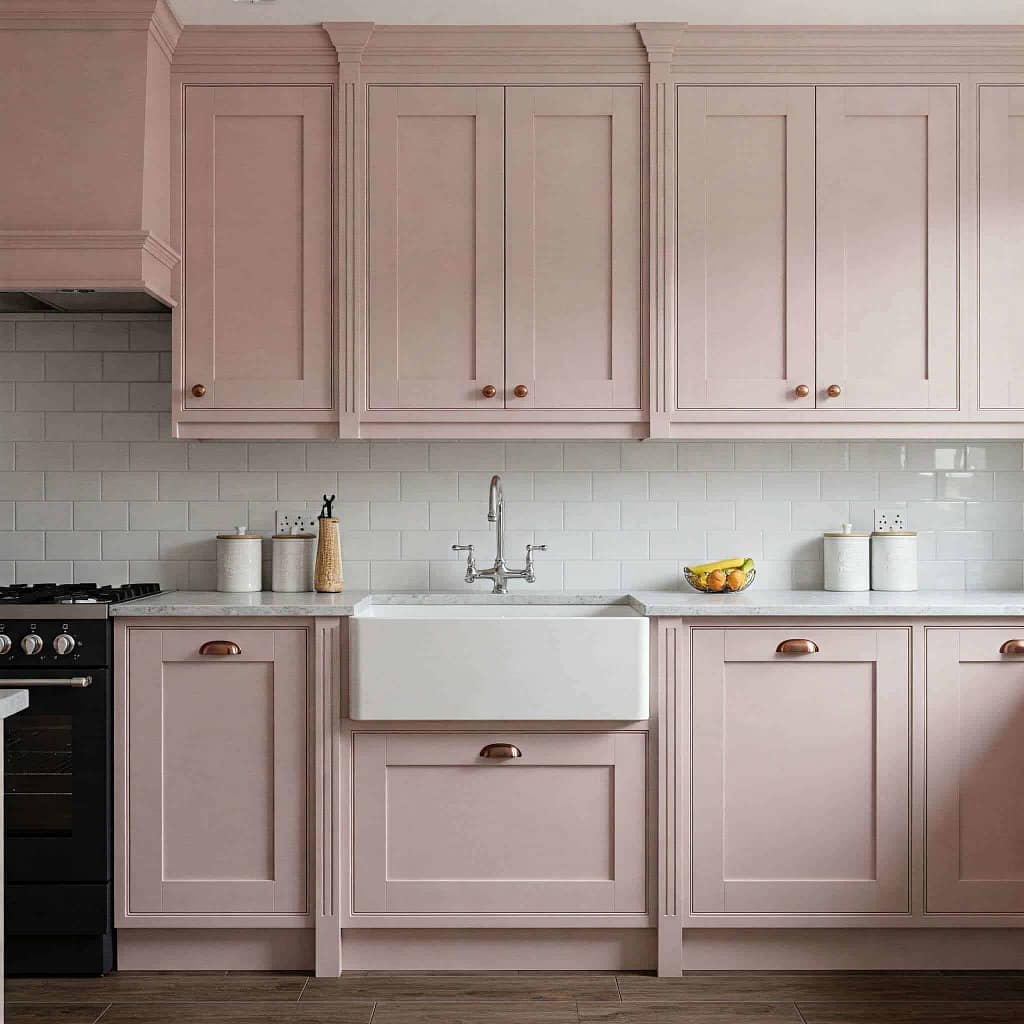
The Complete Guide to Hand-Painted Kitchen Cupboards
Create a Beautiful, Bespoke Look Without a Full Kitchen Remodel
Is your kitchen looking tired or dated—but a full remodel isn’t in the budget? Don’t worry. Hand-painted kitchen cupboards are one of the most effective ways to achieve a custom kitchen look without the high cost of new units. Whether you’re tackling it yourself or hiring experienced painters, a professionally painted kitchen can completely transform your space.
In this guide, we’ll take you step-by-step through the process of updating your cupboards with a flawless finish. Let’s get started.
Part I: Planning and Preparation
The secret to stunning, long-lasting results? Preparation.
2. Colour Consultation
Whether you’re going classic or bold, colour matters. Here’s how to choose:
- Timeless shades: White, ivory, soft grey or taupe offer longevity and brighten the room.
- Trendy tones: Deep navy, forest green, charcoal, or burgundy add personality and drama.
- Two-tone kitchens: Light upper cupboards and darker lowers are on-trend and add depth.
Colour consultation can help ensure your cupboard colours work beautifully with your worktops, flooring, backsplash, and even hardware.
At G&E Interior Painting, we offer free advice to help you find colours that suit your home and lifestyle.
Style Tips:
- Match paint undertones with existing surfaces for visual harmony
- Update handles—brass adds warmth, chrome complements cool tones
- Paint cupboard interiors or open shelving for a bespoke designer look
Prepping the Cupboards Properly
Don’t cut corners here—great prep leads to a great finish.
✔ Clean: Use a degreaser to remove kitchen grime, grease and food residue
✔ Remove: Take off doors, drawers, and hardware. Label everything for reassembly
✔ Sand: Lightly sand with 120–220 grit paper to create a surface the paint can grip
✔ Prime: Use a stain-blocking primer suited for kitchen surfaces
This process is essential for any kitchen refurb, whether DIY or done by a professional house painter.
Part II: The Painting Process
You’ve planned and prepped, now it’s time to paint!
1. DIY or Call in the Professionals?
Painting cupboards yourself can be satisfying, but it’s time-consuming and requires precision. If you’re after a spray-smooth finish or a flawless result, a professional painter can save you time and frustration.
At G&E Interior Painting, our reliable painting services include hand-painting, priming, and even colour matching for a seamless look. We specialise in bespoke kitchens and bring decades of experience to every project.
Materials Needed:
- Quality angled brushes
- Small foam rollers
- Sandpaper and sanding block
- Drop cloths and painter’s tape
- Degreaser, primer, and cabinet paint
- Screwdriver, labels, and rags
How to Paint Kitchen Cupboards
- Cut in edges and corners with a brush
Roll larger panels using a foam roller for smooth coverage
Apply two coats, sanding lightly between them
Allow paint to cure fully—this can take several days to a week for hardening
Rushing the curing process can result in chips, even with the best paint for kitchen cupboards.
2. Painting Process:
- First Coat: Apply the first coat of paint. Use a good-quality brush for corners and detailed areas, and a small foam roller for the flat surfaces to minimize brush strokes.
- Second Coat: Once the first coat is completely dry, lightly sand again and wipe away any dust before applying the second coat. This will ensure a smooth finish.
- Allow to Cure: Don’t rush to put everything back together. Let the paint cure for the recommended time (often a few days to a week) to ensure it’s fully hardened and less prone to chipping.


Part III: Maintenance and Care
Once your beautiful new kitchen is complete, you’ll want to keep it looking its best.
- To keep your freshly painted cupboards looking their best:
- Daily Care
- Wipe spills promptly with a soft cloth and mild soap
- Avoid harsh scrubbers or chemical cleaners that can damage the finish
- Touch-ups
- Save leftover paint for easy future touch-ups on chips or marks
- Handle doors and drawers with care—consider soft-close hinges for a more modern upgrade
Hand-painting your kitchen cupboards is a fantastic way to revitalize your kitchen on a budget. With a little planning and patience, you can achieve a stunning and durable finish that you’ll be proud of for years to come.
Yes, absolutely. “Part I: Planning and Preparation” is a crucial section for a guide on hand-painted kitchen cupboards. It sets the foundation for the entire project and is essential for anyone attempting this kind of renovation.
Bonus Tips: Accessories and Finishing Touches
- Elevate your painted kitchen with thoughtful details:
- Swap out handles for brushed brass, black matte, or antique knobs
- Add under-cabinet LED lighting to highlight your fresh new finish
- Consider painting kickboards and cabinet side panels to match the doors
- Reinstall doors with upgraded hinges or soft-close options
Final Thoughts
Hand-painting your kitchen cupboards is one of the most cost-effective ways to give your kitchen a total refresh. With good prep, the right materials, and a bit of patience, you can create a beautiful, bespoke look that adds value and personality to your home.
Whether you go the DIY route or call in a professional, the result will be uniquely yours—and well worth the effort.
